Got An Idea? How to Transform a Inspiration Photo Into Reality on Your Next Remodeling Project
Five tips on making your clients' dreams come true on your next project.

Like many of the homes in its surrounding Reston, Va., neighborhood, the Model ReModel had awkward space under the stairs on the main level. “It was just dead space,” says Mina Fies, CEO of Synergy Design and Construction, who says the question of what to do with the 39” wide by 60” deep area has been a challenge for neighbors, too.
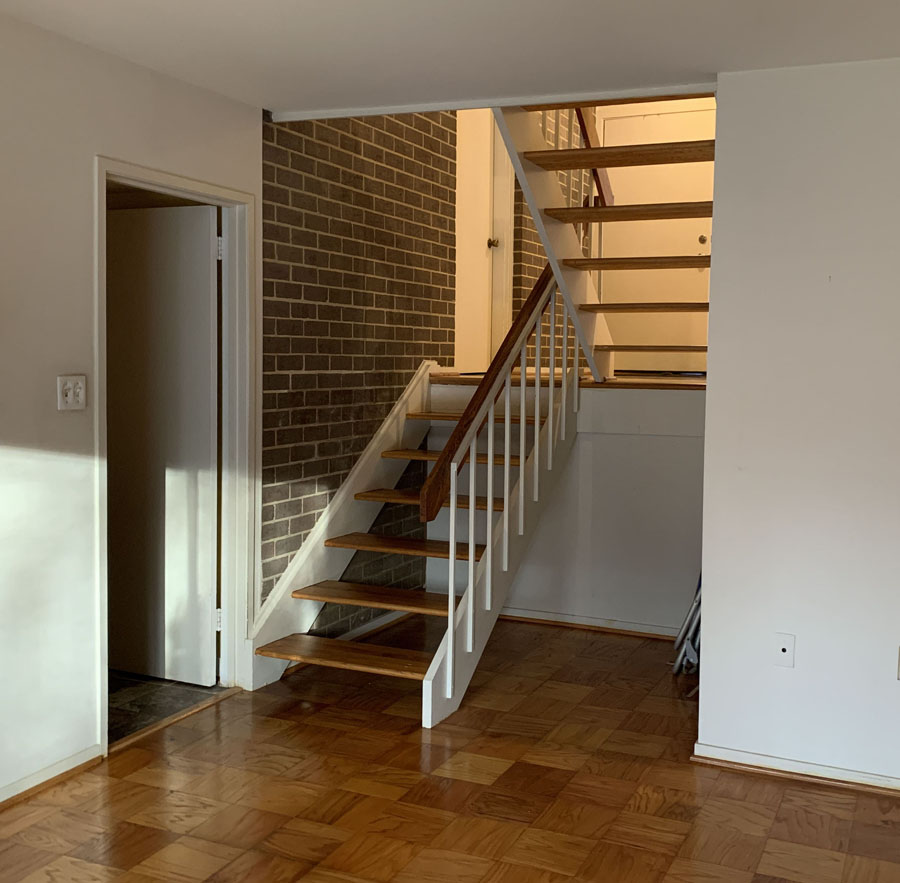
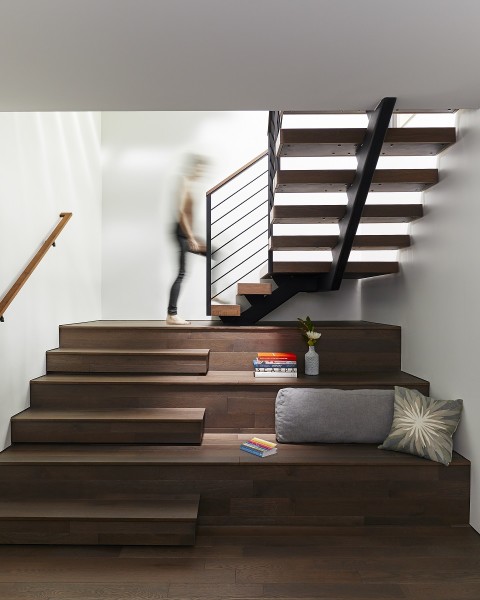
Enter the perfect inspiration photo. While browsing a magazine one day, Mark Fies (Synergy’s COO and Mina’s husband) saw a design idea that he thought might work: stairs on the left and an informal seating area on the right, below the floating staircase similar to the Viewrail stairs being installed at the MRM.
RELATED: Step Up Remodels With a Modern Floating Staircase
It seemed a far better solution than the decor-based solution of large plants with a bench that they had been considering, so Synergy moved forward with the concept, building a set of custom stairs with a cozy nook.
How to Take an Inspiration Photo From Dream to Reality
Want to take a design idea from inspiration photo to reality in your next remodeling project? Here’s what Mark and Mina suggest.
1. Talk to your clients.
Find out what your clients are envisioning for custom spaces and how they hope to put it to work. Mark and Mina are looking forward to entertaining friends and clients in the Model ReModel once it’s done, and they can picture using the right side of the stairs as a perfect perch for a musical performer.
2. Plan it out.
“Take time to design exactly how you want the finished product to look,” Mina says. “While an inspiration photo is helpful, it’s important to lay out the design so it not only has the right aesthetics, but to ensure that the stair treads and risers are the proper sizing for code.” Mina says it took Synergy about a day to design the Model ReModel’s custom stairs and seating area.
3. Know the requirements.
As Mina notes, even small custom projects like this have to meet code. In Fairfax County, Va., where the Model ReModel is located, that meant the stair risers had to be no more than 8.25 inches high, and the stair treads needed to be at least 9 inches deep. This dictated how many steps the custom staircase would have and exactly how it needed to be designed to both meet code and avoid projecting too far into the family room.
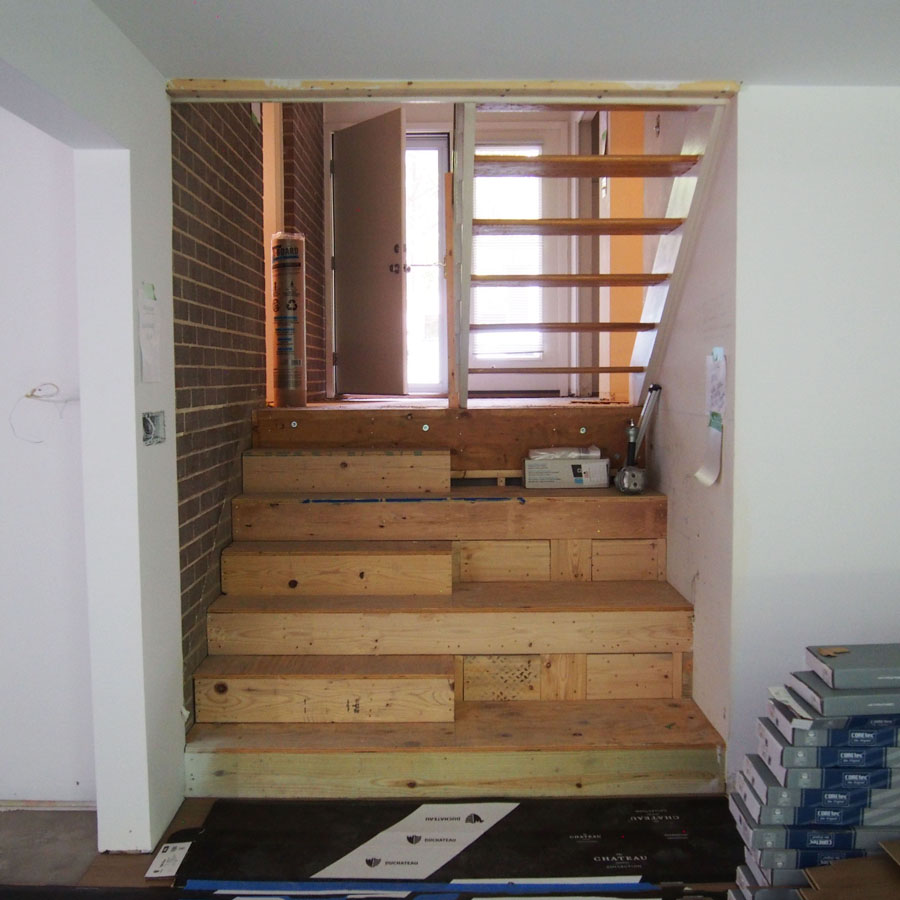
4. Remember that a custom look can be created with basic materials.
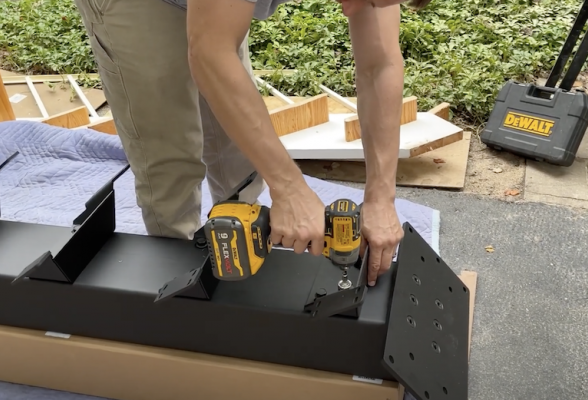
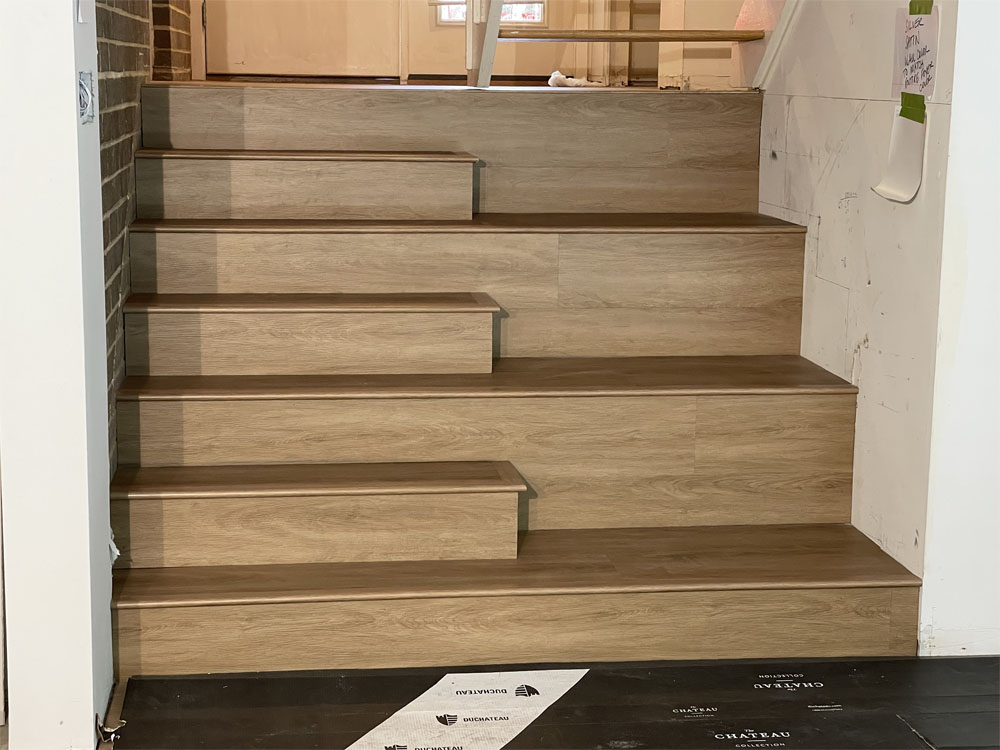
While the Model ReModel’s new stairs and seating area may be custom, the materials are not. Synergy’s Assistant Project Manager Matt Offerman turned to conventional framing lumber and plywood to build the stairs and sitting piers. He used 2x10 boards, which he cut to the 7.5-inch riser height for both the stairs, which are 39 inches wide and 10.25 inches deep; and the seating areas, which are 37 inches wide, 20 inches deep, and 15 inches tall.
5. Leave time for the build and installation.
Doing custom work takes time; veteran carpenter Offerman spent about two days building the platform, and the flooring contractor needed about four hours to install the luxury vinyl plank on the new stairs.
Lastly, don't forget to capture "before" and "after" shots for your project portfolio.
By showing photographs that reveal the transformation of a room from "meh" to marvelous, you are demonstrating to your future remodeling clients how your remodeling expertise can help them realize their hopes and dreams for their home.